 Creating the Room for a Basic Event
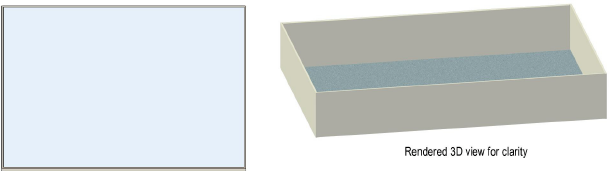
Creating the Room for a Basic EventThe first step of event design is usually creating the event room. Based on a simple 2D shape, the room and floor slab are created automatically according to specified parameters.
To create the room:
Create a closed 2D object (such as a rectangle, polyline, or polygon) to represent the room. The dimensions of the object should match the interior dimensions of the room to be created.
With the 2D object selected, select Event Design > Create Room.
The Create Room dialog box opens. Specify the properties and attributes of the walls and the floor slab.
► Cliquez pour afficher/masquer les paramètres.
Click OK. The room’s walls and floor slab are automatically created.
Wall and slab parameters can be edited in the Object Info palette; see Éditer des murs and Créer des dalles.
When Déplacer des murs joints with the Connected Walls mode of the Selection tool enabled, the adjoining walls and the slab change automatically to maintain the connection.
~~~~~~~~~~~~~~~~~~~~~~~~~